Quick guide
Boot sequence
When turning on your CI-tron gateway, you should see the following boot sequence:
graph LR
    Firmware --> iPXE
    iPXE --> Boot2container
    Boot2container --> Systemd
    Systemd --> Dashboard
The expected boot sequence, when netbooting using the boot2ipxe server
Dashboard
The dashboard is meant to present at a glance the state of your test farm.
At first, only a virtual PDU (Power Delivery Unit) with no test machines attached will be found on the left pane, the list of network interfaces will be listed on the top-right pane, while the bottom-right pane lists the state of all the systemd services.
You may access details a particular PDU port by clicking on it or by selecting
the left pane using the <TAB> key, using the <UP> and <DOWN> to
select the port wanted, then pressing <ENTER>.
There, you will be presented with the ability to toggle the power state of the port, and discover a machine connected to this port. Let’s give that a try:
Adding a virtual DUT through the dashboard
What’s happening here? Please explain step by step!
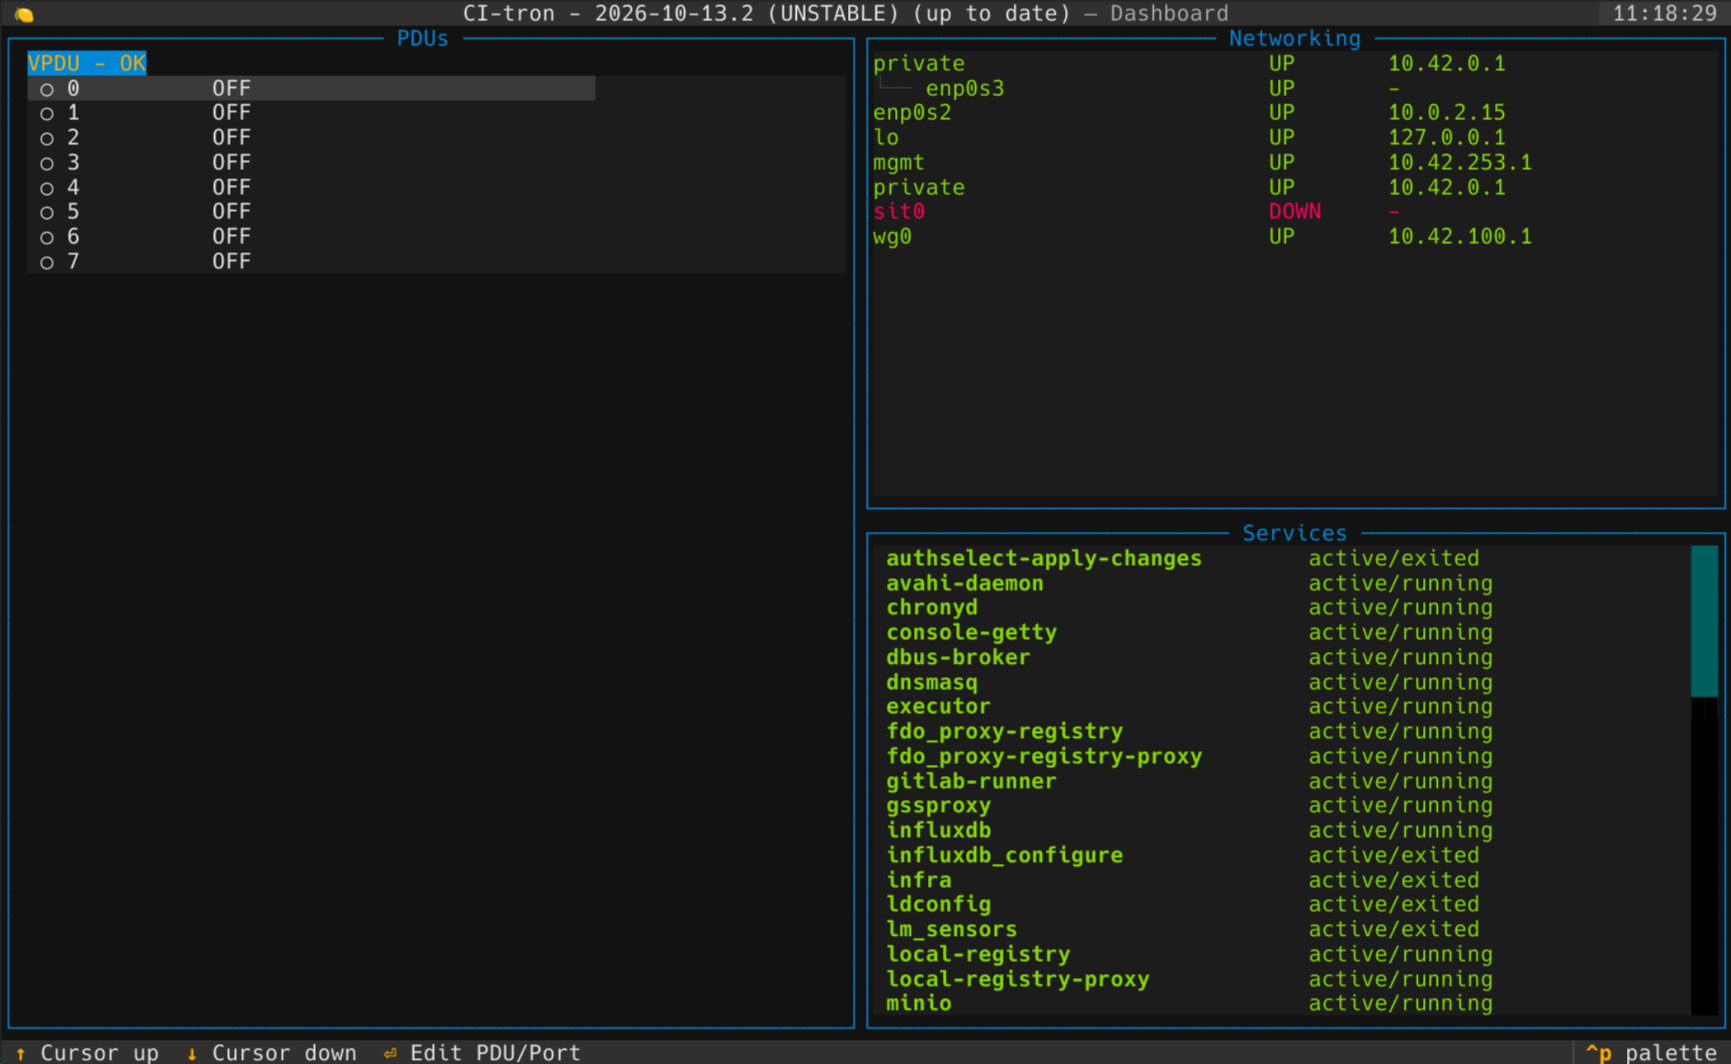
This is the expected content of the dashboard, when no PDU has been detected. A virtual PDU is automatically added, with virtual machines of varying architectures/firmware connected to each port.
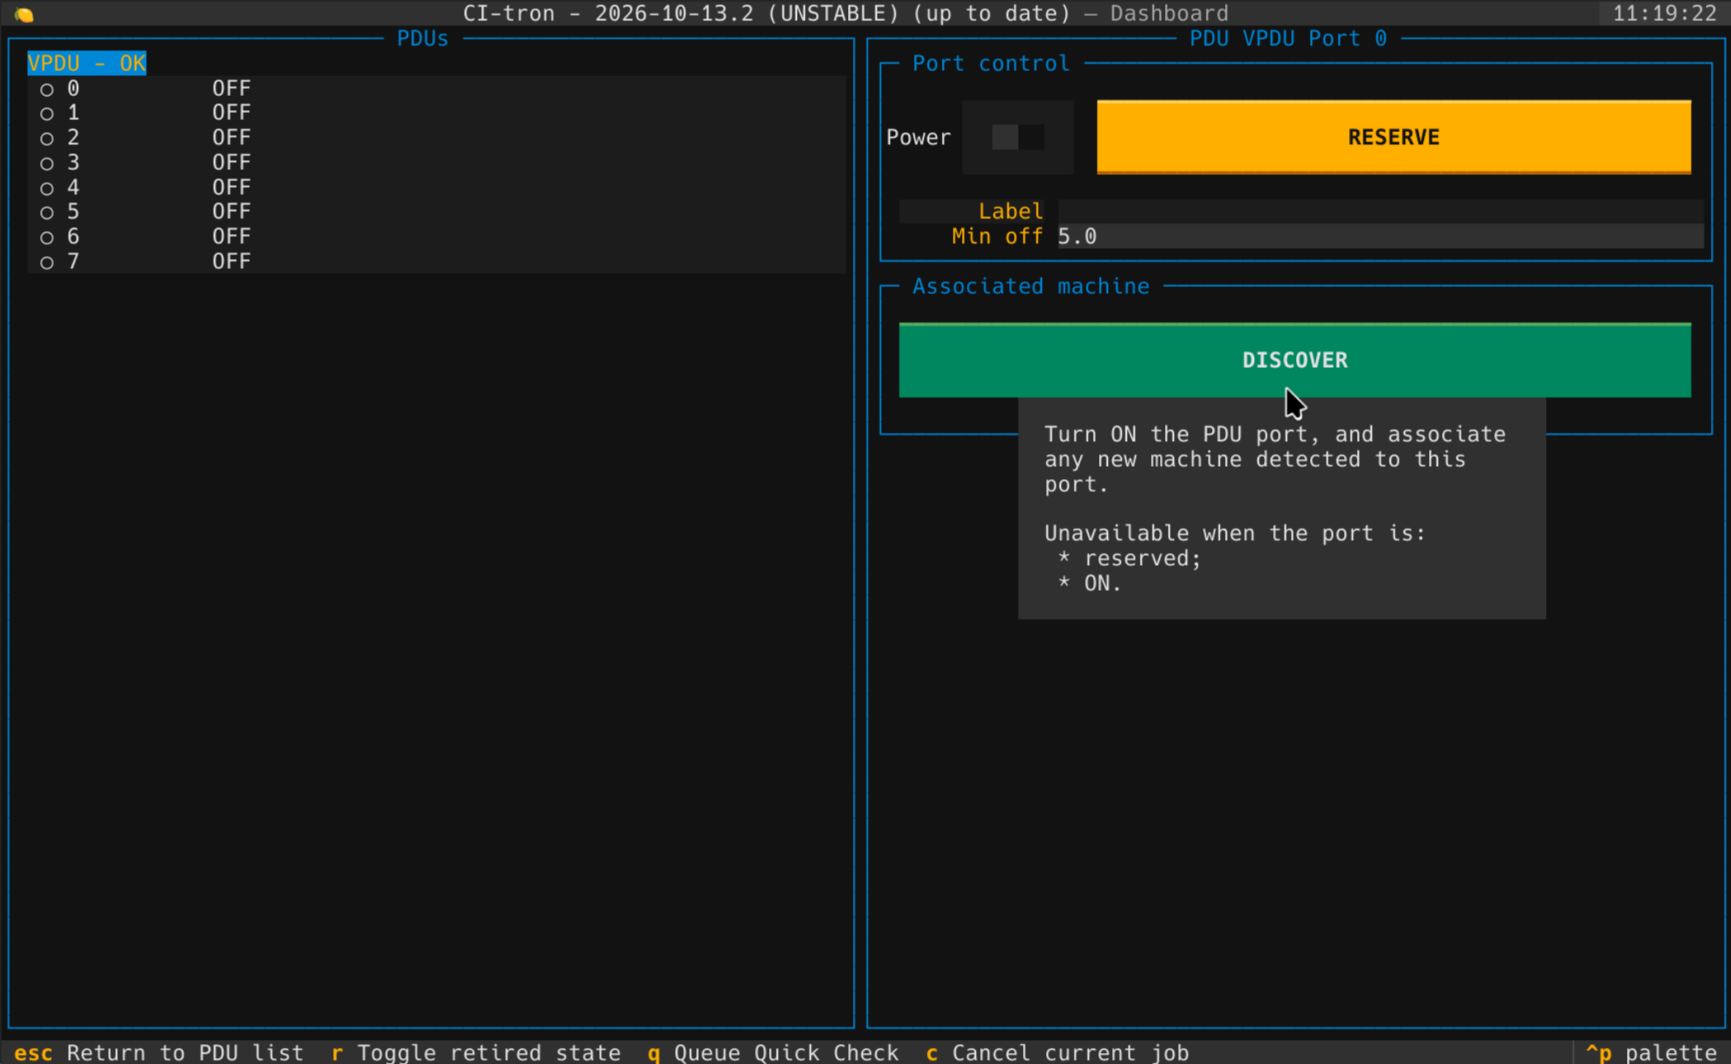
To add a new test machine to CI-tron, you need to select a PDU port,
then press the DISCOVER button.
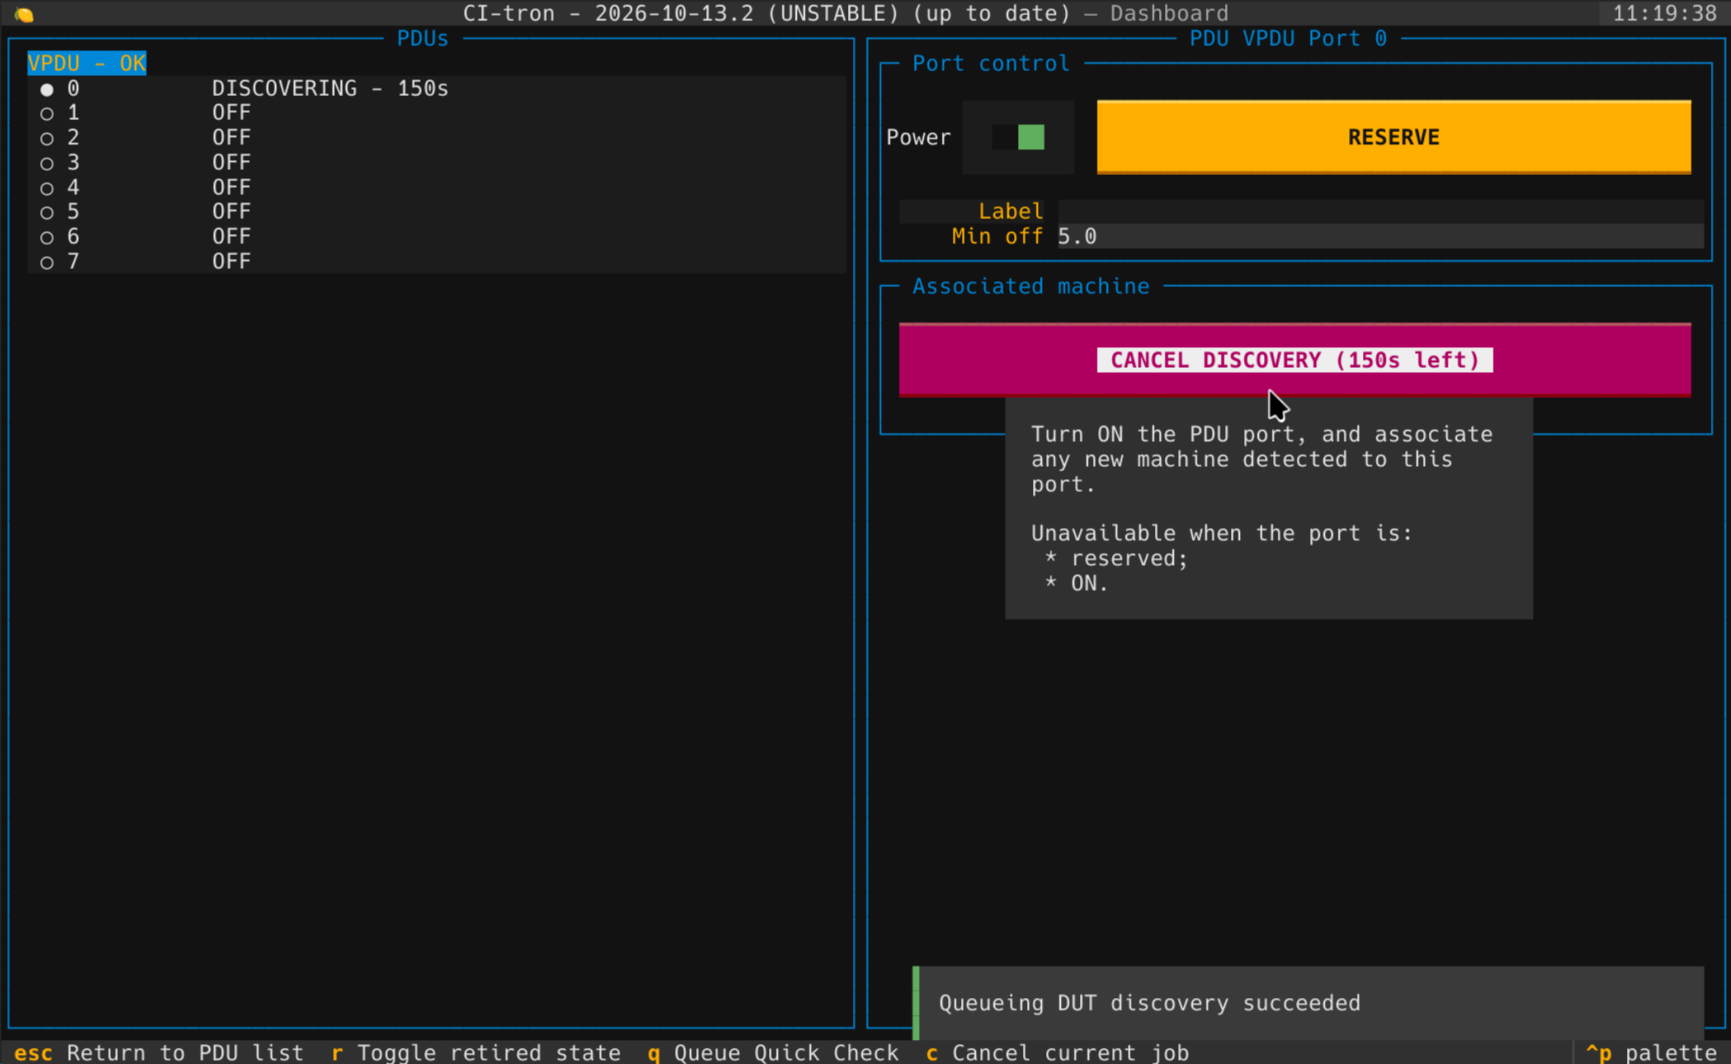
The PDU port has been turned on, and CI-tron is now waiting for a new machine to appear on its private network.
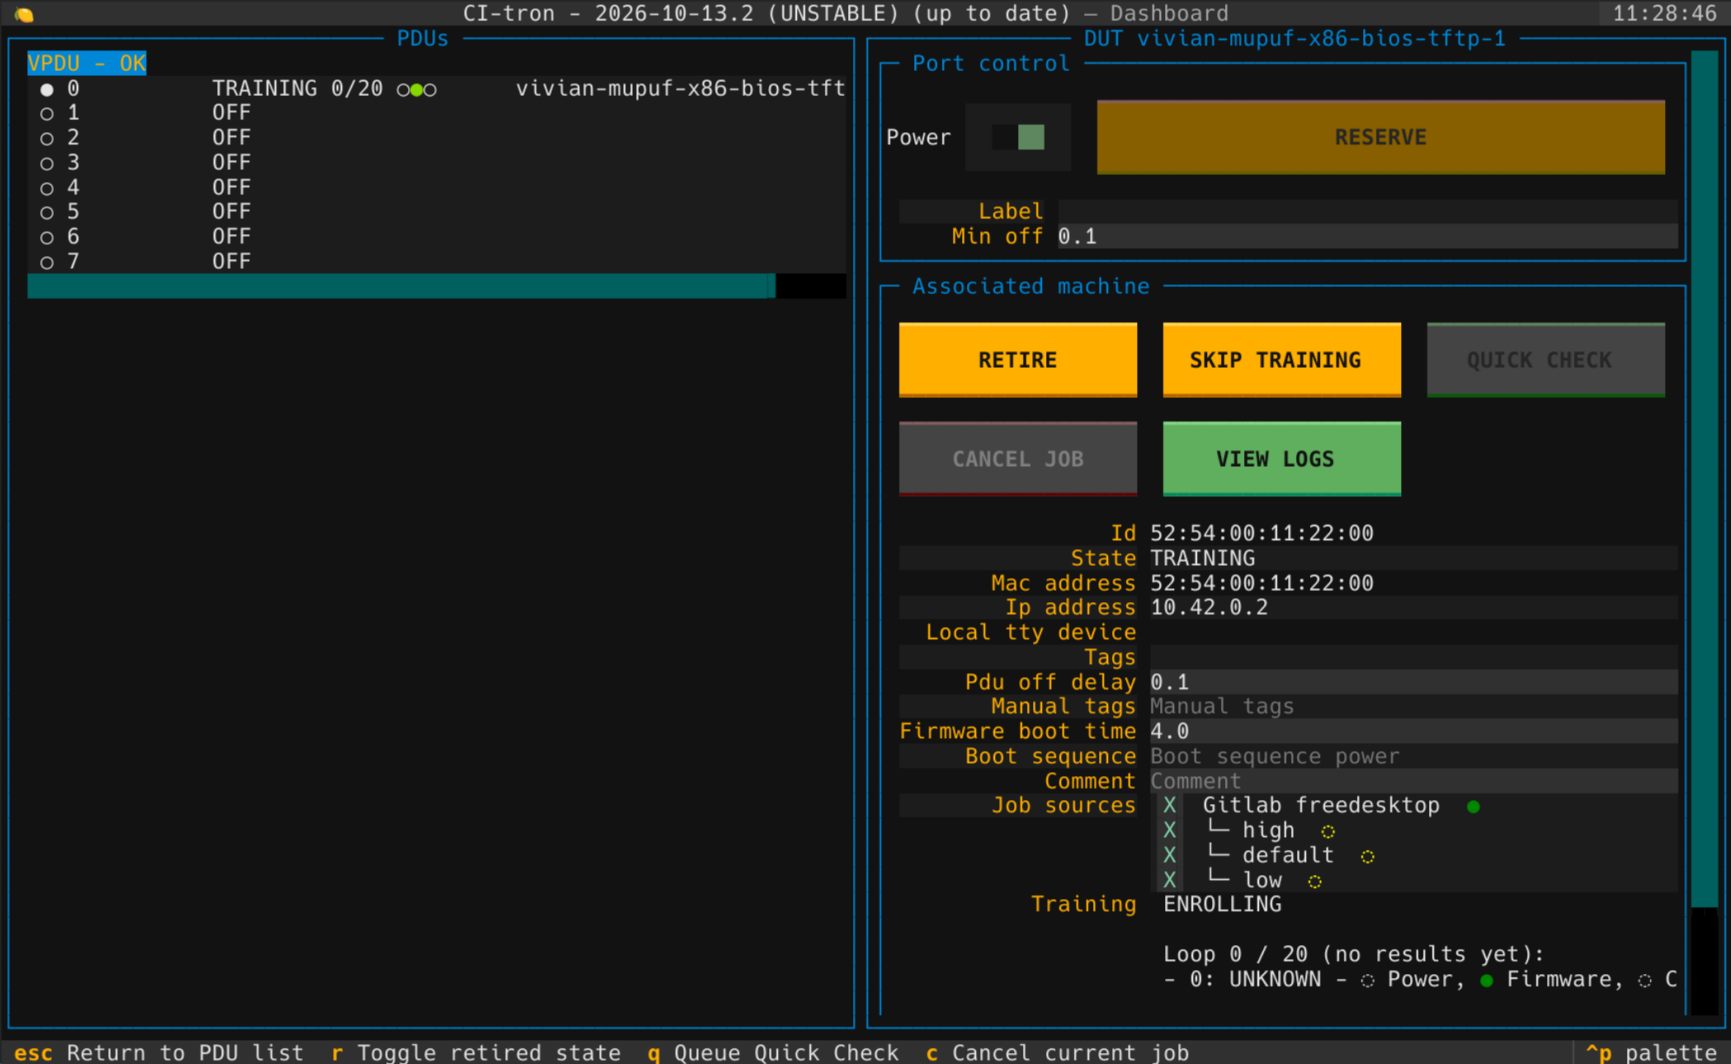
A DHCP boot request was received from an x86 machine, running a BIOS
firmware, expecting to download a bootloader from a TFTP server.
CI-tron provides the expected file according to boots_db.yml.j2,
then use Linux & Boot2container to run the Machine Registration Container.
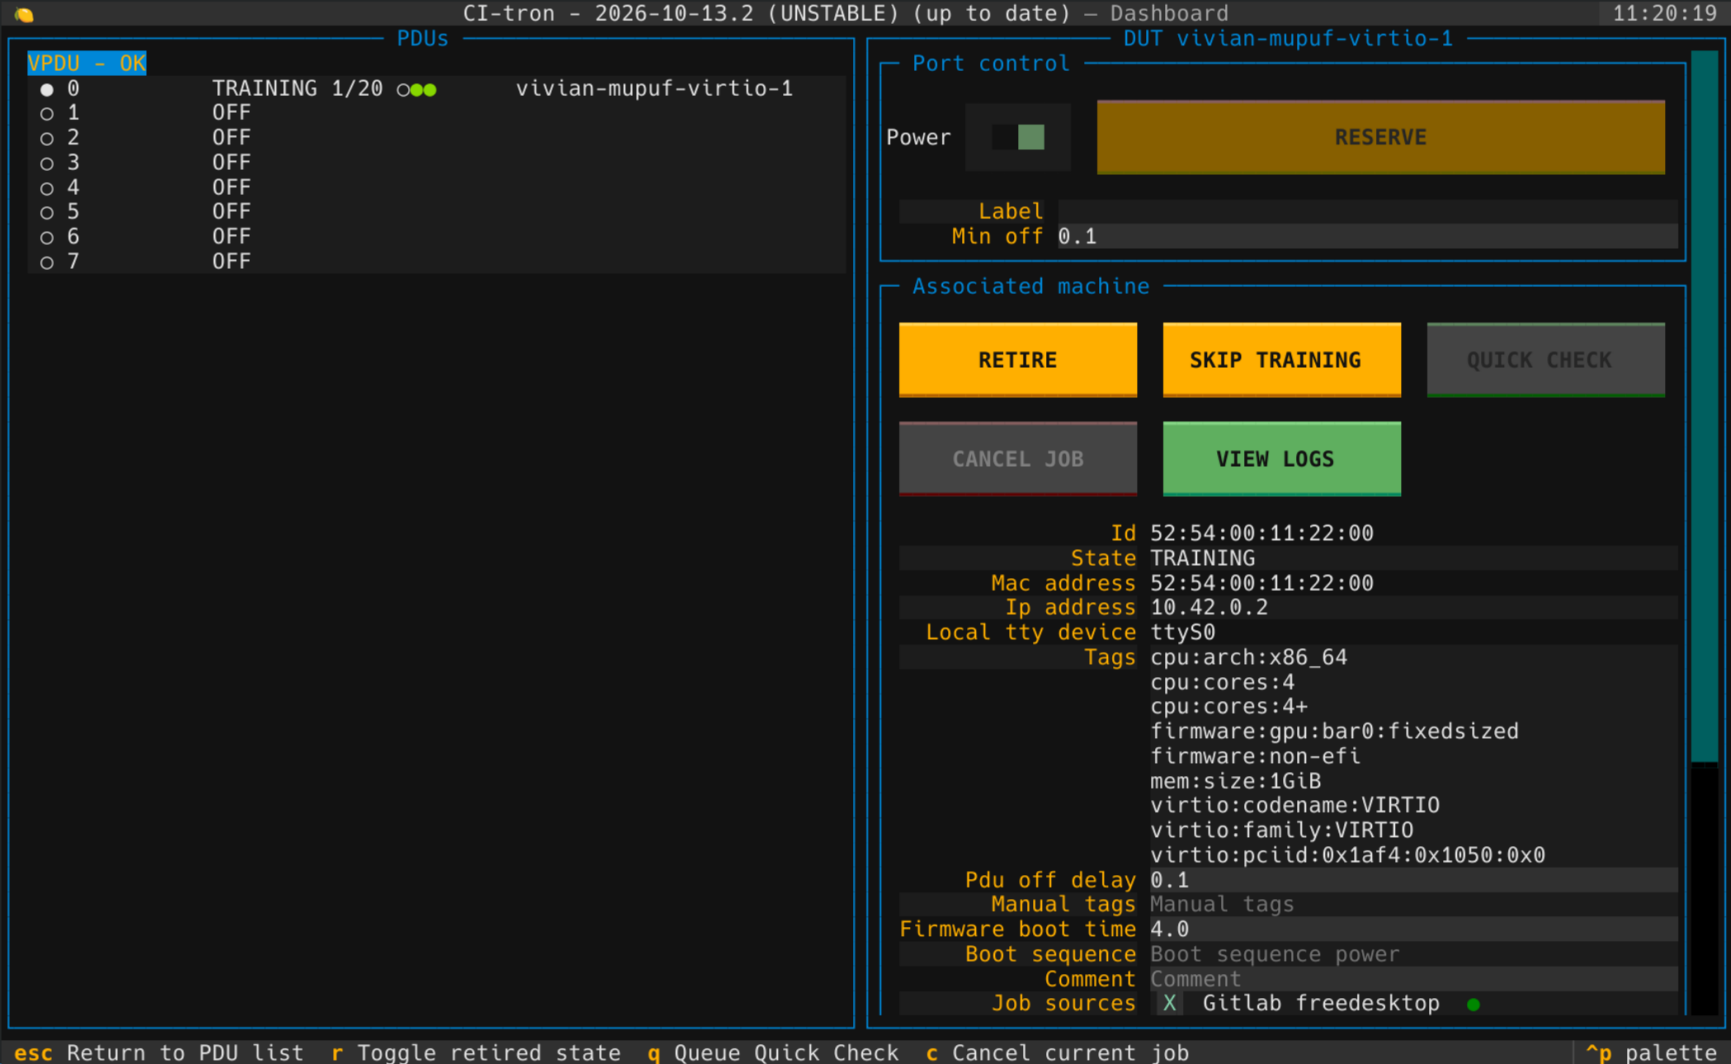
The machine has successfully been registered: the content of the machine has been auto-discovered and used to generate a list of tags describing it, along with a unique name. The machine will now be rebooted 20 times to check for boot reliability.
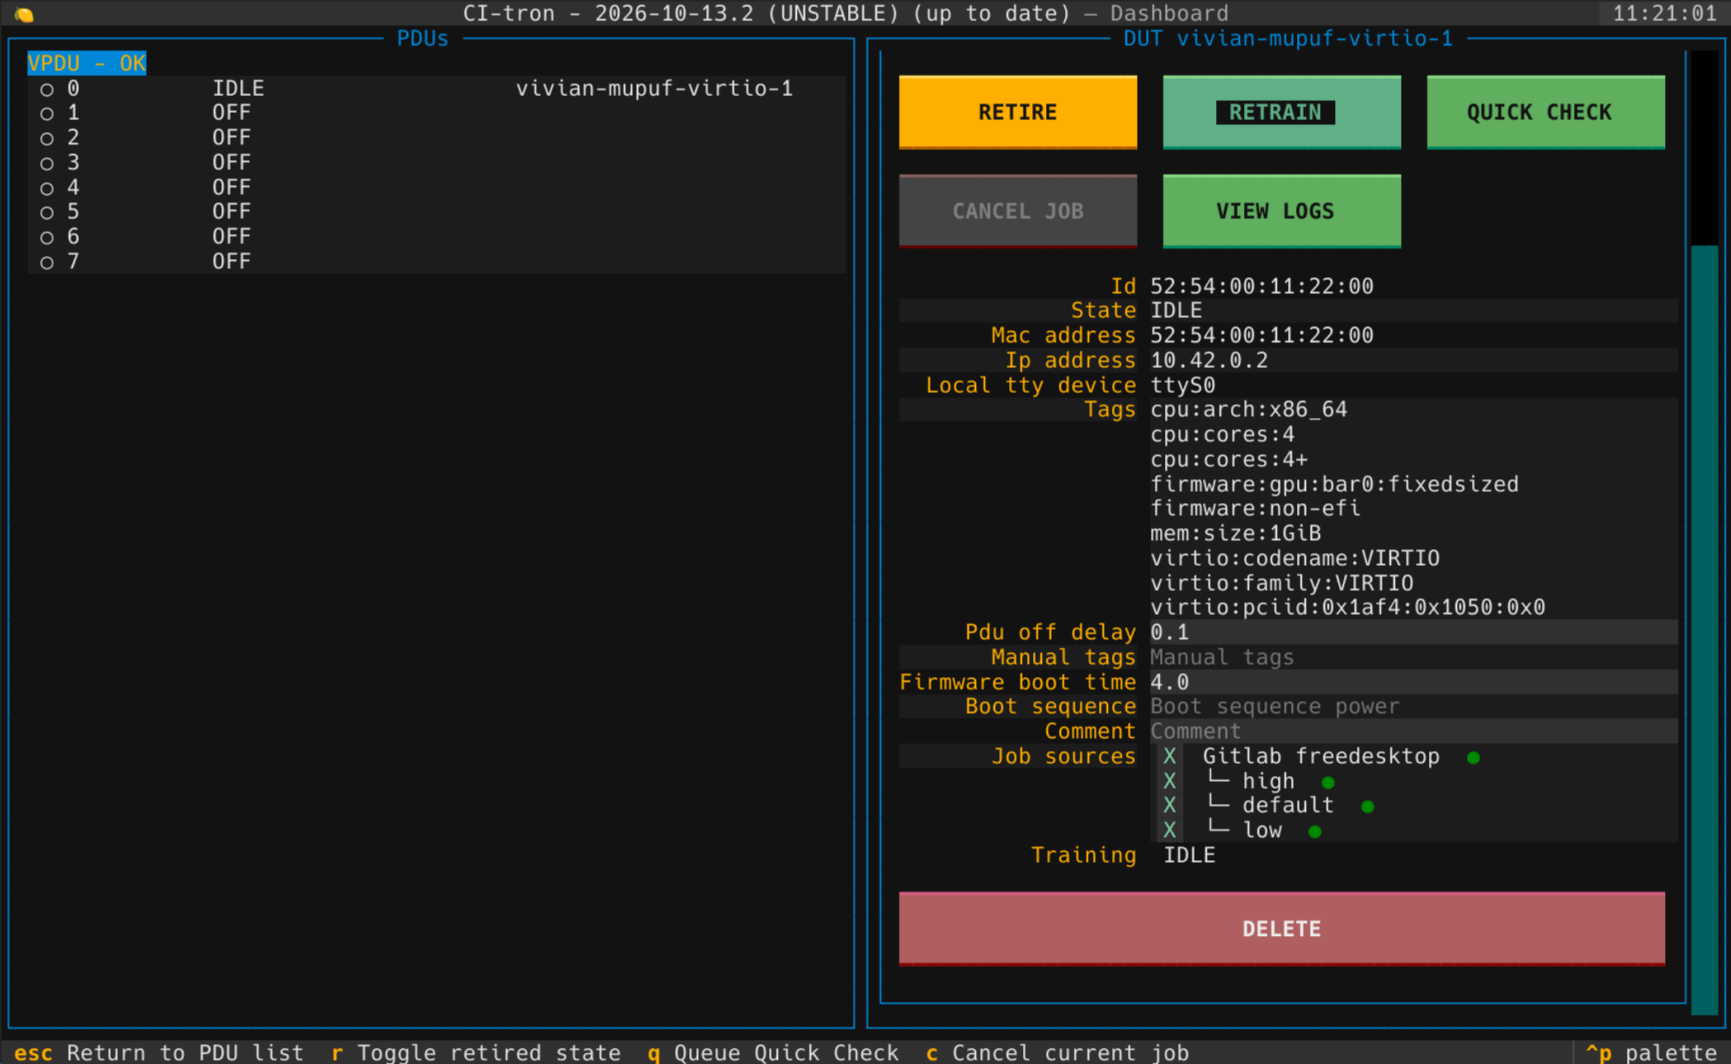
The machine successfully booted 20 times, it is now ready to use.
Your first virtual test machine is now ready to execute your jobs!
Running your first job
Now that you have at least one machine available, you may run jobs on it using the following command from inside the gateway:
$ executorctl run -t virtio:family:VIRTIO /usr/local/lib/python3.*/site-packages/valve_gfx_ci/executor/server/job_templates/interactive.yml.j2
If you end up with a shell in an Alpine container: Congratulations, you seem to have a functional setup!
Let’s now connect real hardware to the CI gateway!